Crafting Crockpot French Dip Sandwiches: A Trailside Feast Guide
Why This Slow-Cooked Beef Shines
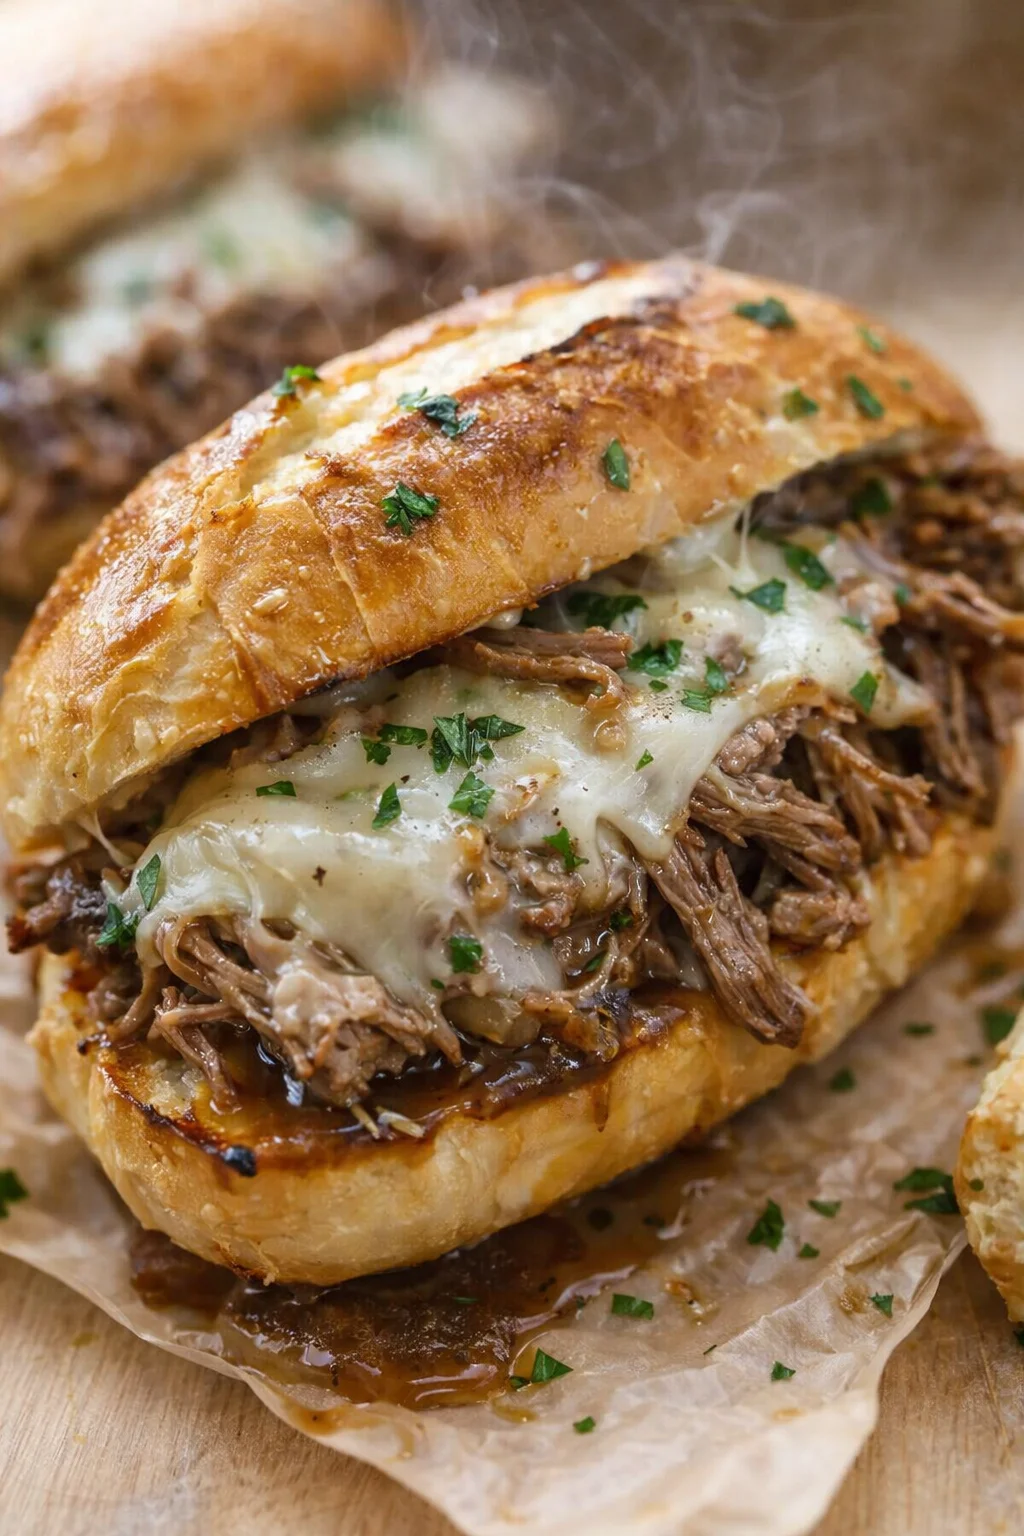
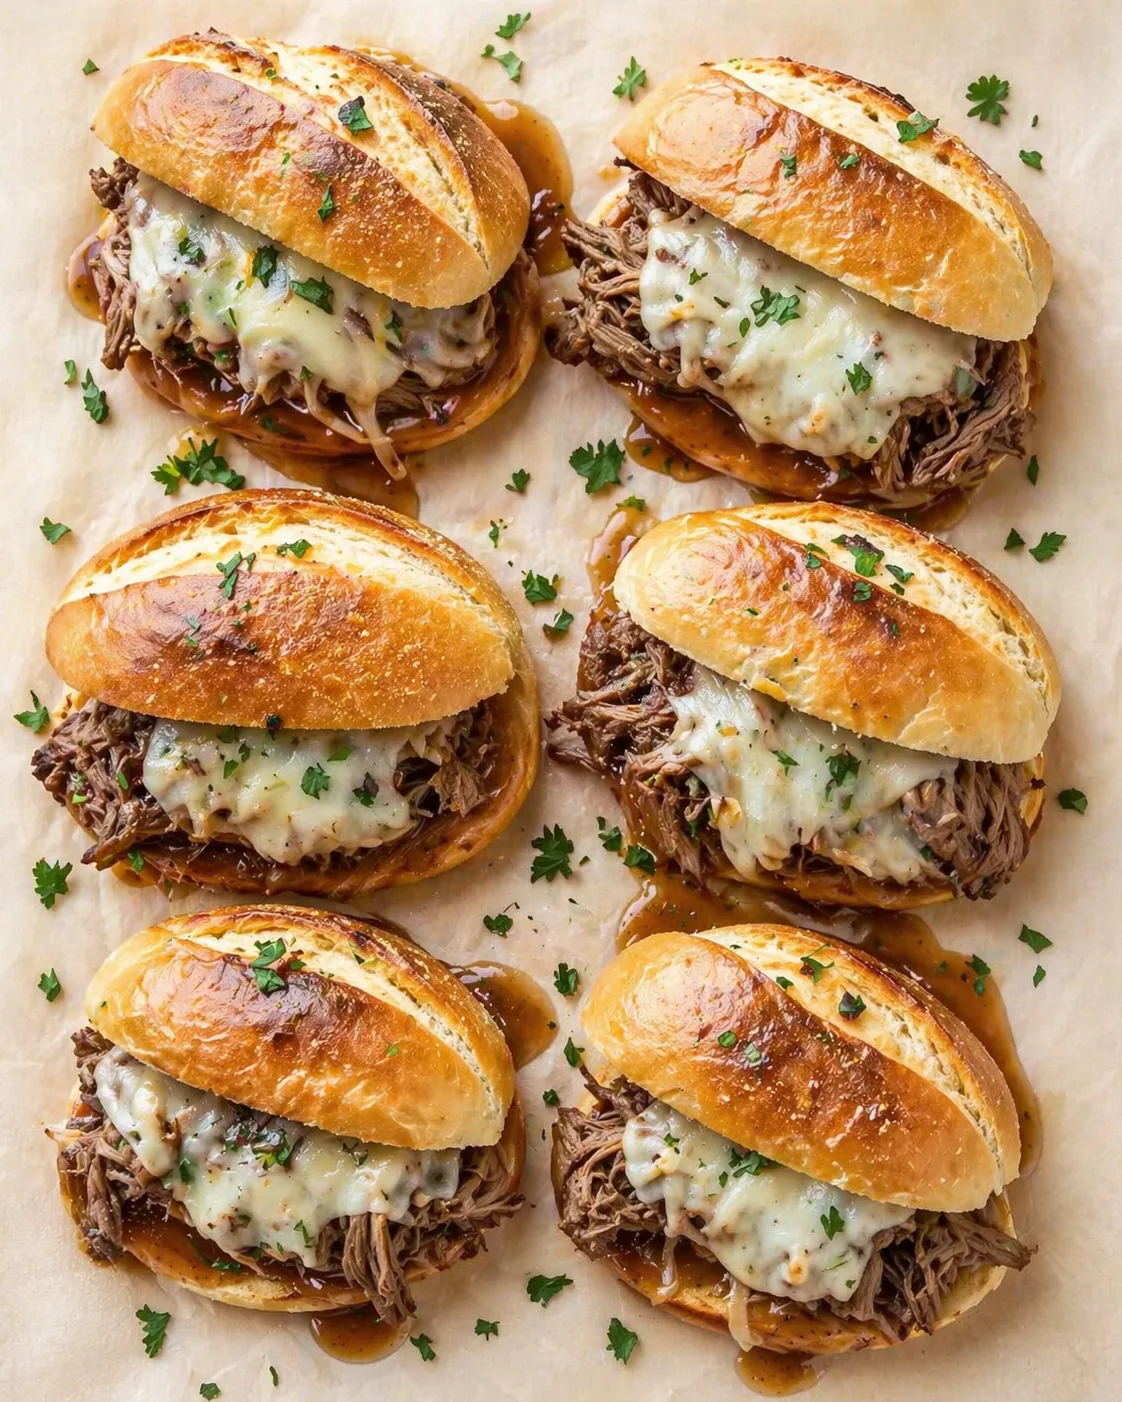
This Crockpot French Dip sandwich recipe nails deep, rich flavor with almost zero active cooking time. The slow cooker transforms a humble beef chuck roast into tender, shreddable beef with a luscious au jus that’s perfect for dunking. You just prep for about 15 minutes, then let the Crockpot do all the work over 8 slow hours. It’s crowd-friendly, stores and reheats well, and even shines as a camp meal where you can reheat pre-cooked beef over a smoky cast iron sear for that rustic, gourmet vibe. For an easy, lighter side, pair your sandwiches with Air Fryer Zucchini Fries.
- Fork-tender, shreddable beef swimming in a concentrated, flavorful au jus.
- Hands-off cooking—prep quick, relax while it slow cooks.
- Super versatile—ideal for weeknight dinners, game day gatherings, or camping adventures.
- Make-ahead and portable—leftovers travel well and make a hearty trail snack.
Ingredients and Trail Gear

- 2 pounds beef chuck roast
- 1 tablespoon olive oil
- 1 teaspoon salt
- 1 teaspoon black pepper
- 1 teaspoon garlic powder
- 1 teaspoon onion powder
- 2 cups beef broth
- 1 tablespoon Worcestershire sauce
- 1 tablespoon soy sauce
- 4 hoagie rolls
- 4 slices provolone cheese (optional)
- Fresh parsley for garnish (optional)
Crockpot to Campfire Cooking Method
Getting that campfire cooking right takes some bushcraft know-how. I always start prepping my firewood early, sorting out small kindling, medium sticks, and larger logs. Dry wood is a must—wet or damp logs just spit smoke and slow your fire down, which nobody wants.
Next, I build a small teepee or lean-to with the kindling, placing tinder right in the center. Leaving good gaps for airflow is critical so your fire can breathe and burn steady. You also want to consider the wind and might build a windbreak with some nearby rocks—fire can be finicky and needs gentle tending, almost like a pet you care for.
Nothing beats the pride of seeing vibrant yellow flames dancing and the soft glow of coals settling—those coals shine like tiny suns underneath your skillet. This is the magic that turns simple sticks into the heat that cooks your Crockpot French Dip sandwiches.
At your fire spot, clear away any debris so no sparks fly where they shouldn’t. Pick river stones warmed by the sun—they’re dry and safe to use. I’ve seen a buddy’s skillet slip because the stone bed was uneven, so I always spend a few extra minutes making sure everything is steady.
Then, place your grill grate—whether it’s made from metal rods or branches tied together. Test it by pushing down hard to make sure it won’t wobble when it has a hot heavy skillet on top. Aim to keep it low enough for solid heat but high enough so flames don’t lick your pan’s edges.
Next, light your fire the right way—starting with tinder, then kindling, then gradually adding bigger logs. Let those coals settle under the grill grate. A perfect glowing coal bed looks like a mini galaxy under your pan—that steady heat is where the magic happens for an epic cast iron sear.
Place your cast iron skillet on the grate and let it warm up for a few minutes. A screaming hot pan is the secret to that irresistible sear on your roast beef slices. Drop a tiny bead of broth in the center of the pan—if it sizzles and dances, you know you’re good to go.
Toast your bread on foil or directly on the grate for a light, golden crunch. Trust me, if you leave it too long under foil, it gets soggy fast. So watch it closely, and once you see those perfect golden spots, lift it up and set it aside, ready for stacking.
Now, drop your roast beef into that hot skillet and listen for that satisfying sizzle—it’s like music to any camper’s ears. That sizzling sound can hush the whole forest for a moment as if even the birds stop to listen. Add a splash of broth to keep the beef juicy, then use tongs to toss and scoop the beef as it gets that gorgeous sear.
Steam rises as you cook and hits your face with that cozy campfire warmth. That cast iron sear smell has a way of sinking right into your soul, reminding you why this simple meal is so special.
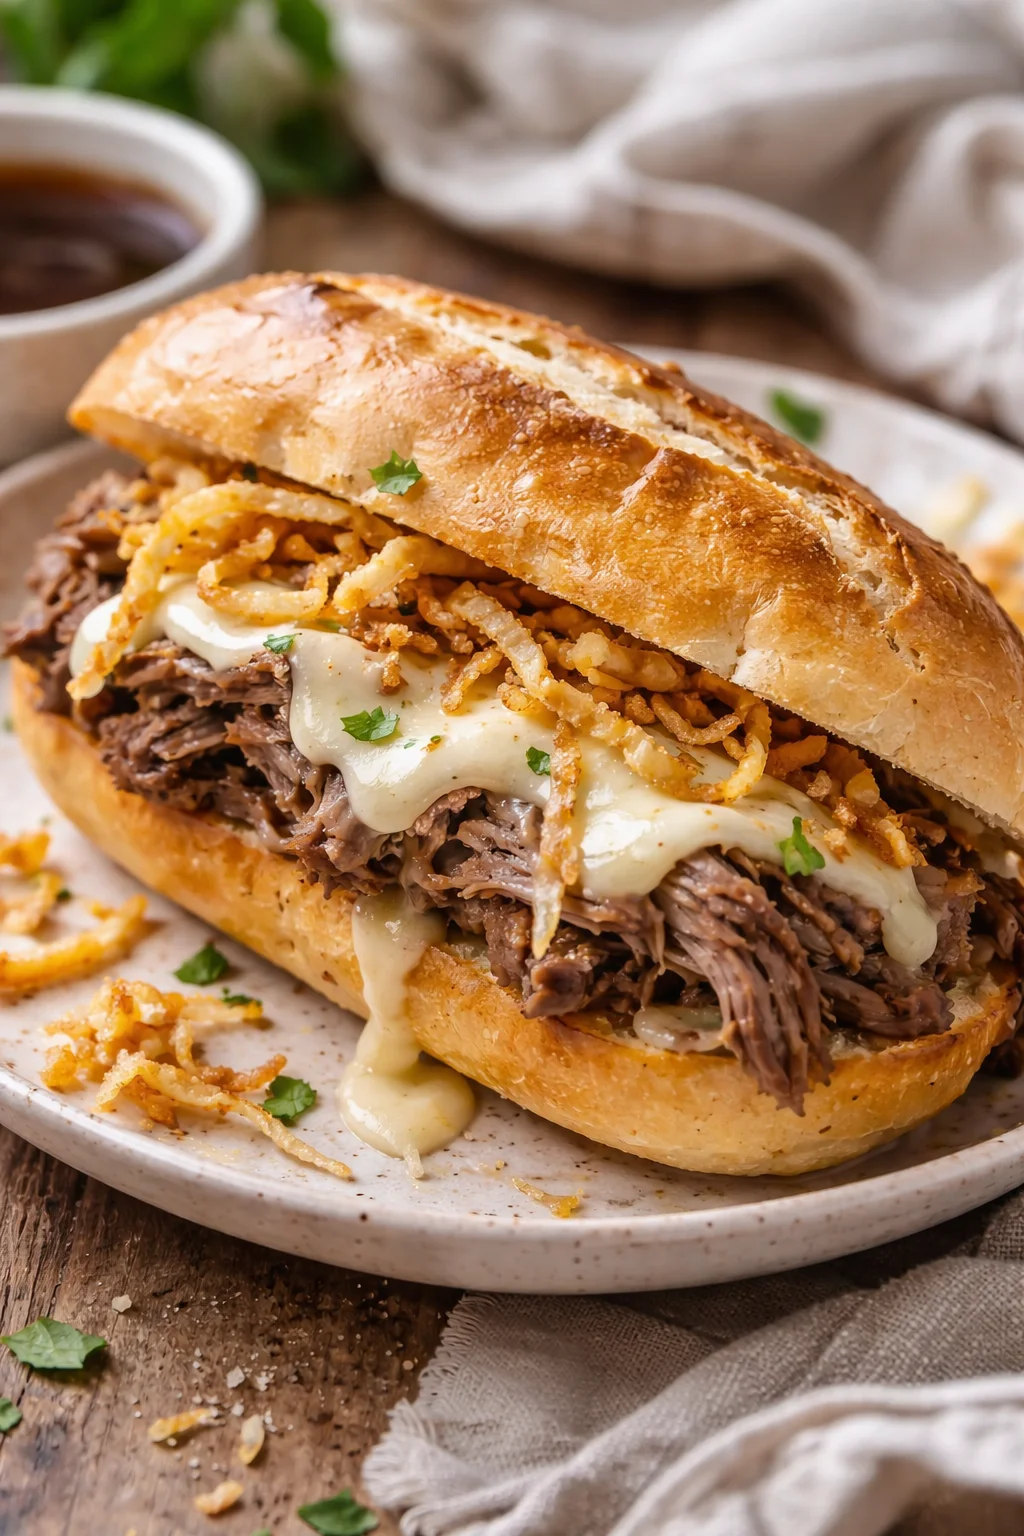
Build those sandwiches by layering the warm, flavorful beef onto the toasted bread, then dunk each bite into the extra au jus you’ve warmed by the coals. That ratio of warm juicy beef, crisped bread, and savory broth? It’s pure comfort heaven. The first time I made these on a trail, I couldn’t believe how fancy camp cooking could get.
Remember, keeping your fire fed is just as important as feeding yourself. I think back to one cold night when our coals fizzled too fast, leaving the skillet cold and dinner soggy. Now, I never make that mistake—I keep a strong ember bed burning steady.
At your first checkpoint, peek under the grate and look for coals that are gray on the edges and glowing red inside—that glow means perfect heat. If you see too many black coals, toss on a small log or two and wait for the bed to regenerate. Keeping that steady heat is a little moment of pride every camper should know.
Next, watch your flames—if they’re licking the skillet’s edges too high, it’s time to make a quick adjustment. You can cover part of the grate with a flat stone or push logs back so that coals do the cooking, not open flames. Fire control keeps your beef tender, not charred.
Finally, stir the beef and broth mix to keep everything cozy. Adding sliced onions or peppers here is a nice flavor boost if you packed them. A dash of garlic or black pepper falls right into place. It’s those little touches that turn a trailhead food dream into a memorable meal.
Seasoning, Searing, and Reheating
- Pat the beef chuck roast dry with paper towels.
- Rub the roast with olive oil, salt, black pepper, garlic powder, and onion powder.
- Optional: Heat a skillet over medium-high and sear the roast on all sides until browned, about 3–4 minutes per side.
-
Transfer the browned or unbrowned roast into the Crockpot.
- Whisk together beef broth, Worcestershire sauce, and soy sauce; pour the mixture over the roast in the Crockpot.
- Cover and cook on low for 8 hours, or until the beef shreds easily with a fork.
- Remove the roast from the Crockpot and let it rest for about 5 minutes.
-
Shred the beef with two forks into bite-sized pieces.

- Return the shredded beef to the Crockpot to soak in the cooking juices for a few minutes.
- Slice the hoagie rolls open.
- Optional: Melt provolone on the rolls under the broiler for 1–2 minutes until gooey.
-
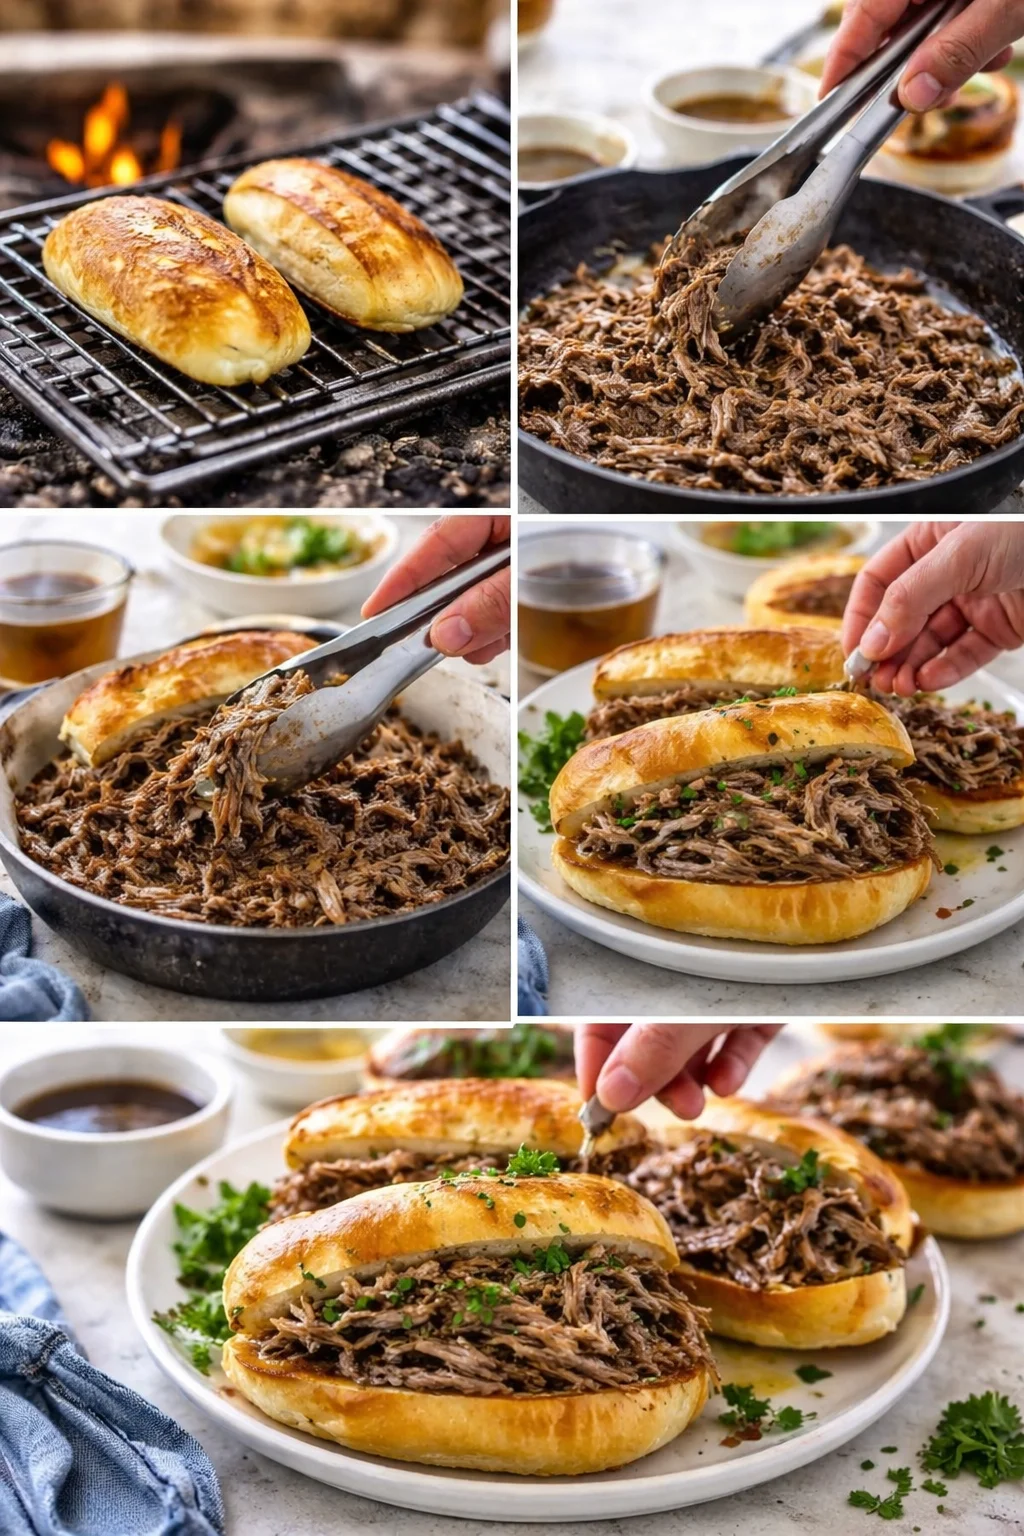
Optional campfire finishing — build a coal bed, place a grill grate, and heat a cast iron skillet until a drop of broth sizzles.
- Optional campfire finishing — toast rolls on the grate or in foil until golden.
- Optional campfire finishing — sear shredded or sliced beef in the hot skillet in small batches with a splash of broth until browned, using tongs to toss.
- Assemble sandwiches by filling hoagie rolls with the shredded beef and reserve the cooking liquid as au jus for dipping.
-
Optional: Garnish sandwiches with fresh parsley.
Customizations and Flavor Boosts
You can keep things classic or pump up the flavor like a total pro. I remember one trip where I melted slices of cheese right on top and threw in some pickles for a bright zing. It made that sandwich go from good to jaw-dropping.
Another great trick? Wrap your roast beef in a large leaf or tortilla—much like you’d do for crockpot chicken fajitas—if you happen to pack one. That wrap trick saves you from juices dripping all over your lap while you lean back against a log to savor each bite. Rustic and practical, with a little chuckle at the mess saved.
Don’t forget about leftovers—pop them in your protein trail pack for an easy snack. There’s something special about enjoying those simple pleasures when you know you earned every bite with every step. And of course, the memory of that sizzling sound in the fire lingers, powering your next hike.
Storing and Packing Leftovers
If you end up with extras, store leftover beef and au jus in greaseproof paper or sealed bags. I like to scrap the skillet clean and save any bits of meat for later—it’s like a little reward for the next day’s hunger.
Break crusty bread in half, pile leftover beef inside, and wrap it up for a quick, satisfying snack you can enjoy leaning against a tree, cold water in hand—pair it with a chilled, make-ahead veggie like this Korean zucchini side dish for a fresh bite on the trail. That moment always feels a little proud to me.
Keep those leftovers sealed tight in your protein trail pack as you hit the trail again. There’s a special joy in savoring that simple, hearty meal after you’ve earned it, with the sound of sizzling still echoing in your mind.
Common Campfire Cooking Questions
You’ve got the full rundown now—from the hunger spark at the trailhead to the last satisfying bite around the campfire. Next time you hear wood crackle and feel that cast iron pan heat up, remember how campfire coals can turn even simple ingredients into a luxe meal like these Crockpot French Dip Sandwiches. For a simple camp-friendly dessert, pack Soft & Chewy S’mores Cookies.
Keep those fire checkpoints in mind—feed your embers, maintain steady heat, and keep your grill grate secure. You’ll want to streamline your gear so you’ve got what you need but no extra weight. Flavors and textures are what make memories as much as the stunning views—try pairing your sandwiches with crisp, packable salt and vinegar zucchini chips.
Q: Can I make these sandwiches on a backpacking trip? Absolutely! If you pack your meat tight and bring a small skillet, you can recreate most of this away from your Crockpot. Use coals and foil pouches to improvise—remember, that’s bushcraft science working for you.
Q: Can I swap beef broth for veggie broth? Yes, you can. It will shift the flavor a bit, but you’ll still get that essential dunking au jus effect. Feel free to experiment with herbs and spices you bring on the trail.
Q: How long do I cook the beef before searing it? On the trail, it’s easiest to pre-cook tender slices at home or bring slow-cooked bits in resealable bags. All you need beachside is to warm and crisp the meat quickly—speeding up your campfire meal without stress.
At the end of the day, it’s that wild fire pals feeling—the joy that turns cooking on trails into more than just refueling. Every crackle, every sizzle, every bite carries the story with you to your next adventure.
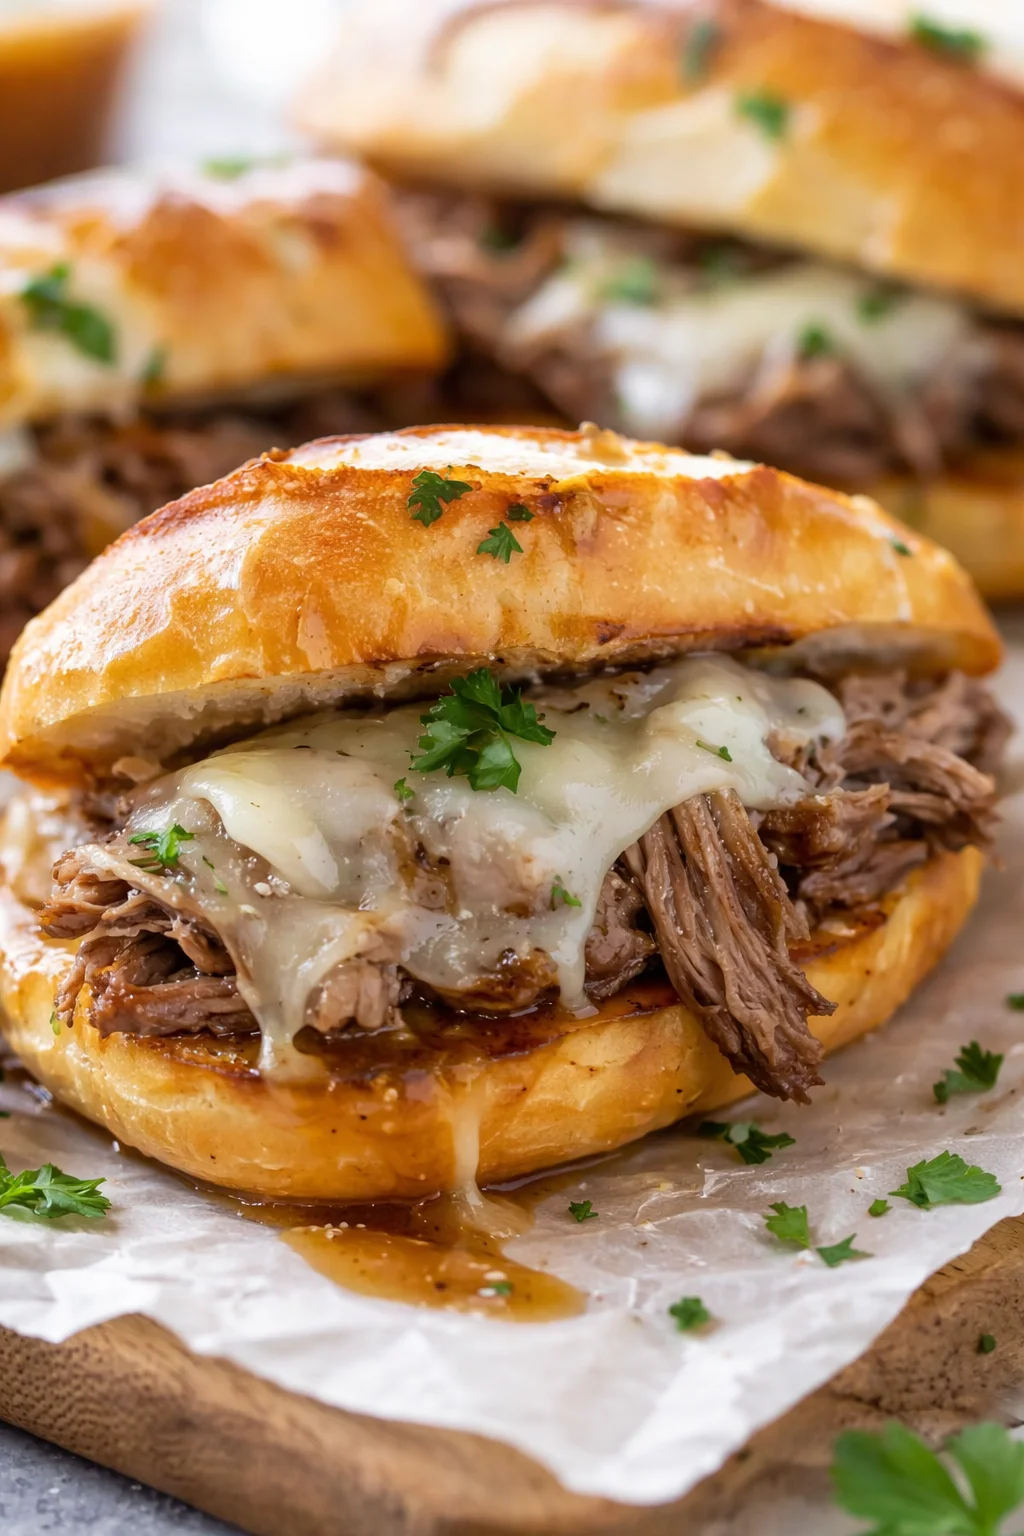
Slow-cooked beef chuck roast turned into tender, shredded beef served on hoagie rolls with melted provolone cheese and flavorful au jus for dunking, ideal for slow cooker or campfire preparation.
- Prep Time: 15 minutes
- Cook Time: 8 hours
- Total Time: 8 hours 15 minutes
- Yield: 4 servings 1x
- Category: Main Course
- Cuisine: American
Ingredients
- 2 pounds beef chuck roast
- 1 tablespoon olive oil
- 1 teaspoon salt
- 1 teaspoon black pepper
- 1 teaspoon garlic powder
- 1 teaspoon onion powder
- 2 cups beef broth
- 1 tablespoon Worcestershire sauce
- 1 tablespoon soy sauce
- 4 hoagie rolls
- 4 slices provolone cheese (optional)
- Fresh parsley for garnish (optional)
Instructions
- Pat the beef chuck roast dry with paper towels.
- Rub the roast with olive oil, salt, black pepper, garlic powder, and onion powder.
- Optional: Heat a skillet over medium-high and sear the roast on all sides until browned, about 3–4 minutes per side.
- Transfer the browned or unbrowned roast into the Crockpot.
- Whisk together beef broth, Worcestershire sauce, and soy sauce; pour the mixture over the roast in the Crockpot.
- Cover and cook on low for 8 hours, or until the beef shreds easily with a fork.
- Remove the roast from the Crockpot and let it rest for about 5 minutes.
- Shred the beef with two forks into bite-sized pieces.
- Return the shredded beef to the Crockpot to soak in the cooking juices for a few minutes.
- Slice the hoagie rolls open.
- Optional: Melt provolone on the rolls under the broiler for 1–2 minutes until gooey.
- Optional campfire finishing – build a coal bed, place a grill grate, and heat a cast iron skillet until a drop of broth sizzles.
- Optional campfire finishing – toast rolls on the grate or in foil until golden.
- Optional campfire finishing – sear shredded or sliced beef in the hot skillet in small batches with a splash of broth until browned, using tongs to toss.
- Assemble sandwiches by filling hoagie rolls with the shredded beef and reserve the cooking liquid as au jus for dipping.
- Optional: Garnish sandwiches with fresh parsley.
Notes
The recipe is very suitable for campfire cooking by recreating the searing and toasting steps over coals and a grill grate for added smoky flavor., Leftovers can be stored in greaseproof paper or sealed bags and make a satisfying portable snack for camping or trail hiking., Be sure to maintain steady heat and a good ember bed when cooking over a campfire to avoid soggy or poorly heated food., Beef broth can be substituted with vegetable broth for a different flavor if preferred., Cheese and pickles can be added for enhanced flavor variations., Wrapping sandwiches in leaves or tortillas can help avoid mess while eating outdoors.
Nutrition
- Serving Size: 1 sandwich
- Calories: Approximately 550 calories per serving (including bread and cheese)
- Fat: Approximately 20 grams per serving
- Carbohydrates: Approximately 40 grams per serving
- Protein: Approximately 45 grams per serving